

What is SonarQube?
SonarQube is an open-source platform developed by SonarSource for continuous inspection of code quality. It performs static code analysis, offering detailed reports on bugs, code smells, vulnerabilities, and code duplications.
This versatile tool supports over 25 major programming languages through built-in rulesets and can be extended further with various plugins.
Benefits of Using SonarQube
- Long-term Sustainability: SonarQube helps streamline applications by minimizing complexity, identifying vulnerabilities, and eliminating code duplication, which extends the application’s life.
- Boosted Productivity: By reducing the scale and cost associated with maintenance, SonarQube decreases the time developers spend on code adjustments, allowing them to focus on creating new features.
- Enhanced Code Quality: Integrating code quality checks into the software development process ensures that the code adheres to high standards throughout the development lifecycle.
- Proactive Error Detection: SonarQube identifies code errors early, providing developers with automatic alerts to address issues prior to deployment.
- Improved Consistency: By pinpointing where code standards are not met, SonarQube enhances the overall consistency and quality of codebases.
- Scalable for Business Growth: There are no limits on the number of projects that SonarQube can evaluate, supporting continuous growth and scaling of business operations.
- Skill Development for Developers: Frequent feedback on quality issues allows developers to continuously refine their skills and produce better code.
This guide will help you install and configure the SonarQube Community Edition on Ubuntu 22.04.
Prerequisites
- Server: Ubuntu 22.04
- Java: OpenJDK 17
- Database: PostgreSQL 15
- Minimum System Requirements: 2vCPU, 4GB RAM, 80GB SSD
Installation Steps
Step 1: Update Your System
sudo apt update
sudo apt upgrade -y
Step 2: Install Java
sudo apt install openjdk-17-jdk -y
java -version
Step 3: Install PostgreSQL
sudo apt install curl ca-certificates
sudo install -d /usr/share/postgresql-common/pgdg
sudo curl -o /usr/share/postgresql-common/pgdg/apt.postgresql.org.asc --fail https://www.postgresql.org/media/keys/ACCC4CF8.asc
sudo sh -c 'echo "deb [signed-by=/usr/share/postgresql-common/pgdg/apt.postgresql.org.asc] https://apt.postgresql.org/pub/repos/apt $(lsb_release -cs)-pgdg main" > /etc/apt/sources.list.d/pgdg.list'
sudo apt update
sudo apt install postgresql-15 -y
Create and configure the database:
sudo -i -u postgres
createuser sonar
createdb sonar -O sonar
psql
ALTER USER sonar WITH ENCRYPTED PASSWORD 'your_password';
\q
exit
Step 4: Install SonarQube
wget https://binaries.sonarsource.com/Distribution/sonarqube/sonarqube-25.1.0.102122.zip
unzip sonarqube-25.1.0.102122.zip
sudo mv sonarqube-25.1.0.102122 /opt/sonarqube
sudo adduser --system --no-create-home --group --disabled-login sonarqube
sudo chown -R sonarqube:sonarqube /opt/sonarqube
Configure SonarQube:
sudo nano /opt/sonarqube/conf/sonar.properties
sonar.jdbc.username=sonar
sonar.jdbc.password=your_password
sonar.jdbc.url=jdbc:postgresql://localhost/sonar
Step 5: Create Systemd Service
sudo nano /etc/systemd/system/sonarqube.service
[Unit]
Description=SonarQube service
After=syslog.target network.target

[Service]
Type=forking

ExecStart=/opt/sonarqube/bin/linux-x86-64/sonar.sh start
ExecStop=/opt/sonarqube/bin/linux-x86-64/sonar.sh stop

User=sonarqube
Group=sonarqube
Restart=always

LimitNOFILE=65536
LimitNPROC=4096

[Install]
WantedBy=multi-user.target
Enable and start service:
sudo systemctl daemon-reload
sudo systemctl start sonarqube
sudo systemctl enable sonarqube
Step 6: Update File Descriptors and Memory Limits
ulimit -n 65536
sudo nano /etc/security/limits.conf
sonarqube - nofile 65536
sonarqube - nproc 4096
Set virtual memory:
sudo sysctl -w vm.max_map_count=262144
sudo nano /etc/sysctl.conf
vm.max_map_count=262144
sudo sysctl -p
Step 7: Configure Firewall
ufw allow 9000/tcp
ufw allow 80/tcp
ufw allow 443/tcp
ufw reload
Step 8: Install and Configure Nginx
sudo apt install nginx -y
sudo nano /etc/nginx/sites-available/sonarqube.example.com
server {
    listen 80;
    server_name sonarqube.example.com;

    access_log /var/log/nginx/sonarqube.access.log;
    error_log /var/log/nginx/sonarqube.error.log;

    location / {
        proxy_pass http://localhost:9000;
        proxy_set_header Host $host;
        proxy_set_header X-Real-IP $remote_addr;
        proxy_set_header X-Forwarded-For $proxy_add_x_forwarded_for;
        proxy_set_header X-Forwarded-Proto $scheme;
    }
}
Enable configuration:
sudo ln -s /etc/nginx/sites-available/sonarqube.example.com /etc/nginx/sites-enabled/
sudo nginx -t
sudo systemctl restart nginx
Step 9: Configure HTTPS
sudo apt install certbot python3-certbot-nginx -y
sudo certbot --nginx -d sonarqube.example.com
Step 10: Install SonarScanner CLI
wget https://binaries.sonarsource.com/Distribution/sonar-scanner-cli/sonar-scanner-cli-6.2.1.4610-linux-x64.zip
unzip sonar-scanner-cli-6.2.1.4610-linux-x64.zip
sudo mv sonar-scanner-cli-6.2.1.4610-linux-x64 /opt/sonar-scanner
echo 'export PATH=$PATH:/opt/sonar-scanner/bin' >> ~/.bashrc
source ~/.bashrc
Step 11: Access SonarQube
Visit https://your_domain_or_ip to access the SonarQube dashboard. Use default login credentials:
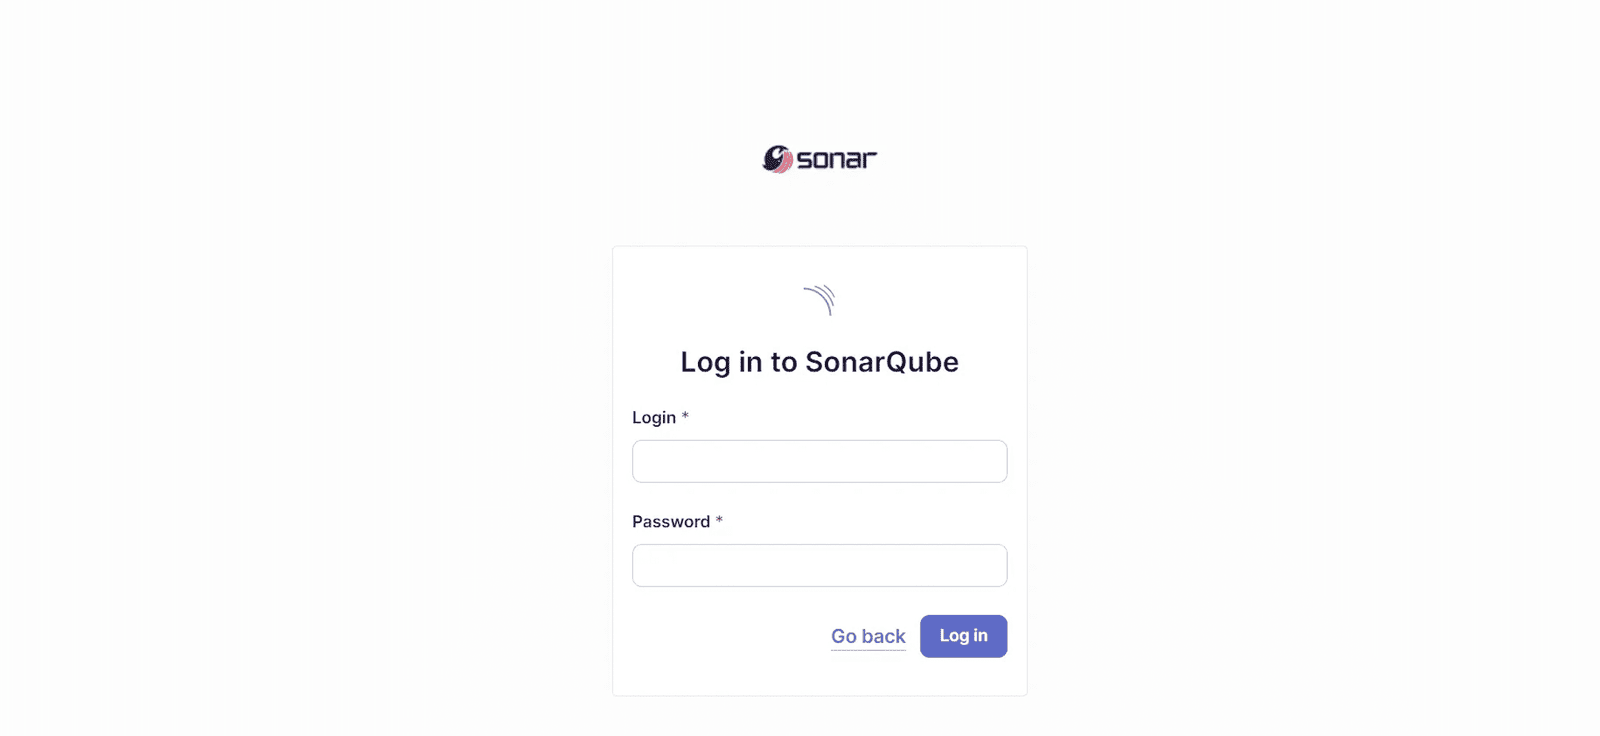
- Username: admin
- Password: admin
Once logged in, change your password for security.
Conclusion
You’ve successfully installed SonarQube on Ubuntu 22.04, secured with an SSL certificate. Your server is now ready to analyze code quality for your projects. Remember to secure your SonarQube instance and routinely back up your PostgreSQL database.

Alok Sinha
I am a DevOps Engineer with over 5 years of experience. I am passionate about helping digital organizations deliver better software, faster. With a strong background in various technology roles, I focus on automating processes and fostering collaboration between development and IT teams.